Hello, fellow yarn enthusiasts! Get ready to add a touch of wickedly wonderful charm to your crochet collection. Today, we’re diving into a project that’s absolutely perfect for any Disney fan with a slightly mischievous side: a Poisoned Apple!
Imagine this: a plump, deep red apple, its glossy surface hinting at a dark secret, complete with a gnarled, woody stem. It’s the perfect size to sit on a shelf, adorn a fairy tale-themed desk, or even be a fun, spooky accent for your Halloween decor. This pattern is wonderfully beginner-friendly, making it a fantastic way to practice basic stitches and build your confidence. Plus, it’s an unforgettable, handmade gift for that special someone who loves a good story – or just appreciates a unique piece of craft!
In this guide, we’ll walk you through every step, from creating that iconic round shape to adding the perfect finishing touches. So, grab your hook and some lovely red yarn – let’s get crafting!
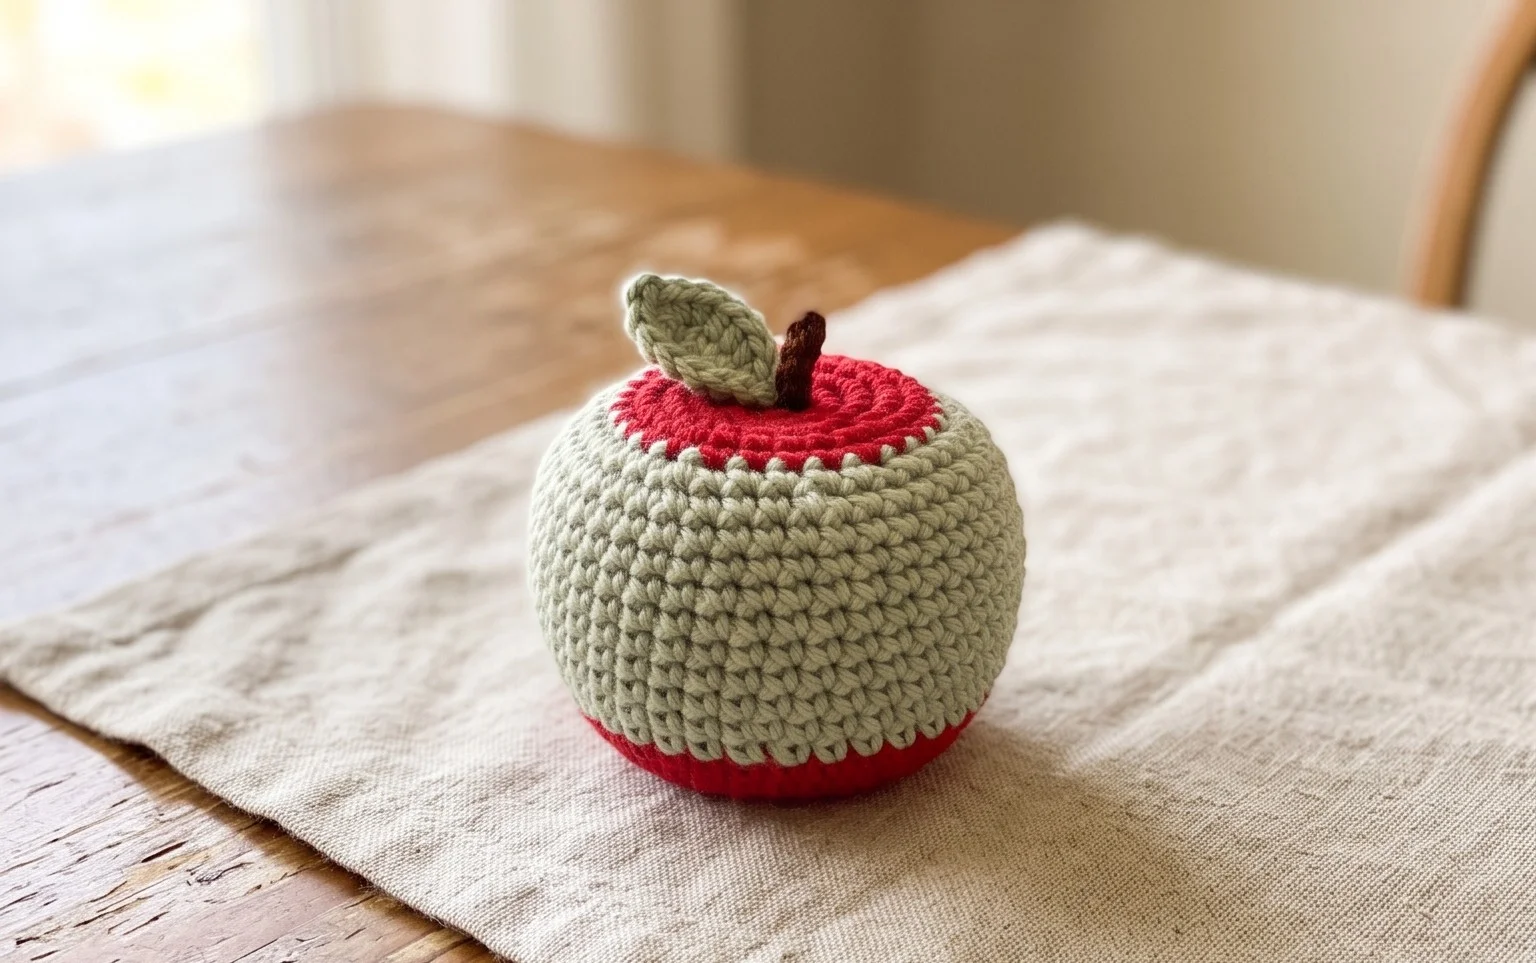
You Can Crochet A Poisoned Apple For The Person Who Loves Disney
Are you a Disney enthusiast with a penchant for crafting? Or perhaps you know someone who is utterly captivated by the magic of Disney, especially its more… *wicked* enchantresses? Then get ready to embark on a delightfully dark crafting adventure! This crochet pattern allows you to create your very own Poisoned Apple, inspired by the iconic imagery from Snow White and the Seven Dwarfs. It’s the perfect way to add a touch of fairytale flair to your décor, a unique gift for a fellow Disney lover, or even a whimsical prop for your next costume. Let’s dive into the delicious details of how to bring this villainous fruit to life with yarn and hook!
Gathering Your Enchanted Materials
Before we begin our magical journey, let’s ensure you have all the necessary supplies. Choosing the right yarn and hook will significantly impact the look and feel of your Poisoned Apple.
Yarn Recommendations:
For that classic Poisoned Apple look, you’ll want a vibrant, glossy red yarn. However, the beauty of crochet is its versatility, so don’t be afraid to experiment!
* **For the Classic Poisoned Apple:** Look for acrylic or cotton yarns in a deep, rich red. A yarn with a slight sheen can mimic the appearance of a polished apple. Popular choices include Lion Brand Vanna’s Choice, Red Heart Super Saver, or Lily Sugar ‘n Cream.
* **For a Magical Twist:** Consider a variegated yarn that blends reds, purples, and blacks for a more mysterious, enchanted feel. Or, try a sparkly yarn for an extra touch of fairytale glamour!
* **For the Stem and Leaf:** A brown yarn for the stem and a green yarn for the leaf are essential. Again, acrylic or cotton options work well.
Hook Recommendations:
The hook size will depend on your chosen yarn weight and the desired fabric density. A tighter weave will create a more solid, apple-like shape, while a looser gauge will be more flexible.
* **For Worsted Weight Yarn:** A size H (5.0 mm) or I (5.5 mm) crochet hook is typically a good starting point.
* **For DK or Sport Weight Yarn:** You might opt for a smaller hook, around a G (4.0 mm) or F (3.75 mm).
Always check your yarn label for recommended hook sizes and consider crocheting a small test swatch to see how your tension and hook size work together.
Mastering the Mystical Stitches
This pattern primarily utilizes a few fundamental crochet stitches, making it accessible even for those who are relatively new to the craft.
Essential Stitch Techniques:
* **Magic Ring (or Magic Circle):** This is the foundation for creating seamless amigurumi shapes. It allows you to start with a tight center, preventing any unwanted holes. If magic rings feel daunting, you can substitute it with a chain 2 and work your first round of stitches into the second chain from the hook.
* **Single Crochet (sc):** This is the workhorse of amigurumi. It creates a dense fabric that holds its shape well.
* **Increase (inc):** This involves working two single crochet stitches into the same stitch. It’s used to gradually widen your crocheted piece, creating the rounded shape of the apple.
* **Decrease (dec):** This involves working two stitches together as one. This is how you’ll close off the top of your apple and shape the bottom. The invisible decrease (invdec), where you crochet only the front loops of the two stitches together, is highly recommended for a neater finish.
* **Slip Stitch (sl st):** Used to join rounds and move across stitches without adding height.
* **Chain (ch):** Used to create new stitches and build height.
Tips for Aspiring Crocheters
If you’re new to crochet, or amigurumi in particular, don’t be intimidated! This project is a fantastic way to build your skills.
Beginner-Friendly Advice:
* **Practice the Magic Ring:** Spend a little time practicing the magic ring technique separately. There are plenty of helpful video tutorials available online that can demonstrate the best way for you to achieve it.
* **Use a Stitch Marker:** Always use a stitch marker to mark the beginning of each round, especially when working in continuous rounds. This prevents you from losing your place and ensures you count your stitches accurately.
* **Stuffing is Key:** Don’t be shy with the stuffing! Firmly and evenly stuff your apple as you crochet. This will give it that satisfying, plump apple shape and prevent it from looking saggy. You can use polyester fiberfill, or even scraps of yarn.
* **Read Ahead:** Take a moment to read through the entire pattern before you start. This will give you a good overview of the process and help you anticipate any tricky steps.
* **Don’t Fear Mistakes:** Everyone makes mistakes! If you find yourself off count or a stitch looks a bit wonky, it’s okay. You can often frog (undo) a few stitches and correct it. The yarn is forgiving.
Adding Your Own Enchanting Touches: Customization**
This Poisoned Apple pattern is a fantastic canvas for your creativity. Here’s how you can make it uniquely yours:
Customization Options:
* **Color Play:** Beyond the classic red, imagine a deep purple apple for a regal witch, a bright green for a sour apple, or even a striped pattern. Experiment with different yarn combinations!
* **Size Matters:** You can easily adjust the size of your apple by changing your hook size and yarn weight. A smaller hook and finer yarn will result in a miniature apple, while a larger hook and bulkier yarn will create a grander centerpiece. Simply adjust the number of increase and decrease rounds to achieve your desired diameter.
* **The Stem and Leaf:** Get creative with the stem! You could crochet a more elaborate, twisted stem, or perhaps add a small crocheted worm peeking out. For the leaf, you could create a heart shape, a pointed leaf, or even a cluster of tiny leaves.
* **Embellishments:** Consider adding some subtle sparkle with embroidery thread, or even a tiny crocheted “poison” droplet hanging off the side.
Caring for Your Cursed Creation
Once your Poisoned Apple is complete, you’ll want to keep it looking its best. Since it’s likely to be a decorative item, care instructions are usually quite simple.
Care Instructions:
* **Washing:** Most acrylic and cotton yarns can be hand-washed gently in cool water with a mild detergent. Avoid harsh scrubbing.
* **Drying:** Gently squeeze out excess water, then reshape the apple and lay it flat on a towel to air dry. Avoid using a washing machine or dryer, as this can damage the shape and stuffing.
* **Dusting:** For light dusting, you can use a soft brush or a lint roller.
Whimsical Project Ideas
Your crocheted Poisoned Apple is more than just a standalone item; it can be integrated into a variety of delightful projects!
Project Inspiration:
* **Disney-Themed Decor:** Place it on your bookshelf alongside your Disney collection, use it as a unique paperweight, or incorporate it into a themed wreath.
* **Costume Accessory:** Add it to a witch’s costume, a Snow White-inspired outfit, or even a Halloween ensemble.
* **Gift for a Disney Fanatic:** This makes a thoughtful and unique handmade gift for birthdays, holidays, or just because.
* **Amigurumi Family:** Crochet a whole bushel of different colored apples to create a charming display.
* **Keychains or Bag Charms:** Use a smaller hook and yarn to create miniature versions that can be attached to bags or keys.
With a little yarn, a hook, and a touch of imagination, you can crochet your very own Poisoned Apple, a charmingly villainous addition to any Disney lover’s world. So, grab your materials, get ready to stitch, and have a wickedly wonderful time creating this magical piece!
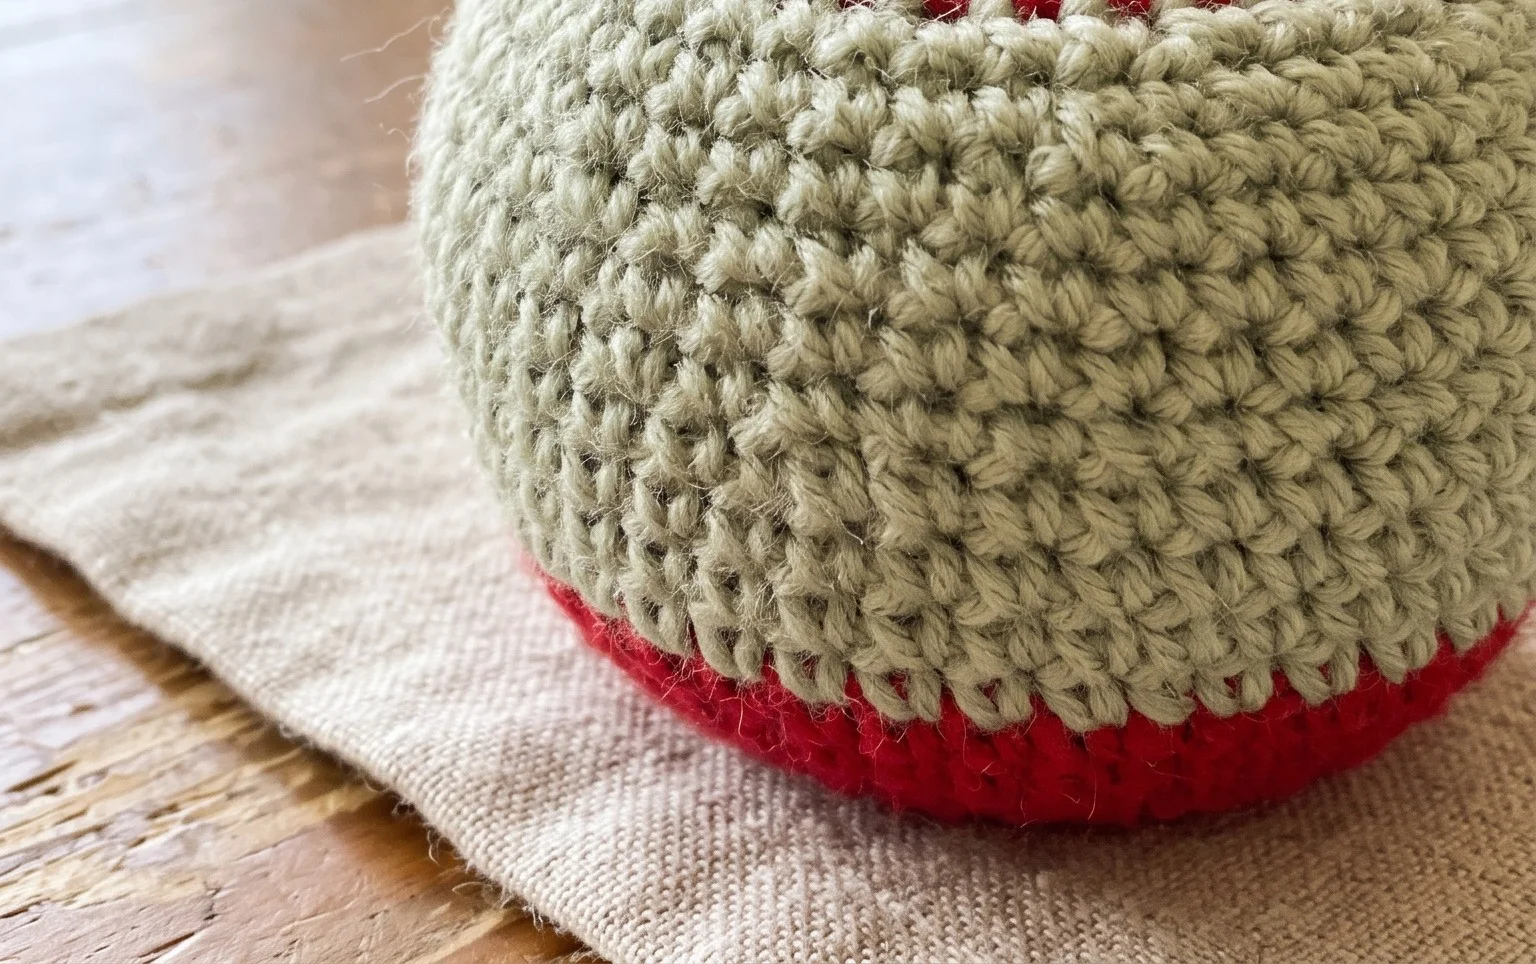
And there you have it – your very own crocheted Poisoned Apple, a delightful and mischievous nod to your favorite Disney villain! We hope you enjoyed stitching this project as much as we enjoyed creating it. Don’t be shy, grab your hook and give it a try! The magic of crochet awaits, and we can’t wait to see your completed apple creations.
Share your enchanting makes on social media using #[YourChosenHashtag] – we’d love to be inspired by your unique touch! Perhaps you’ll experiment with different shades of red or even add a subtle sparkle for extra wickedness. Ready for your next adventure? Explore our other patterns and keep that creative yarn flying!